
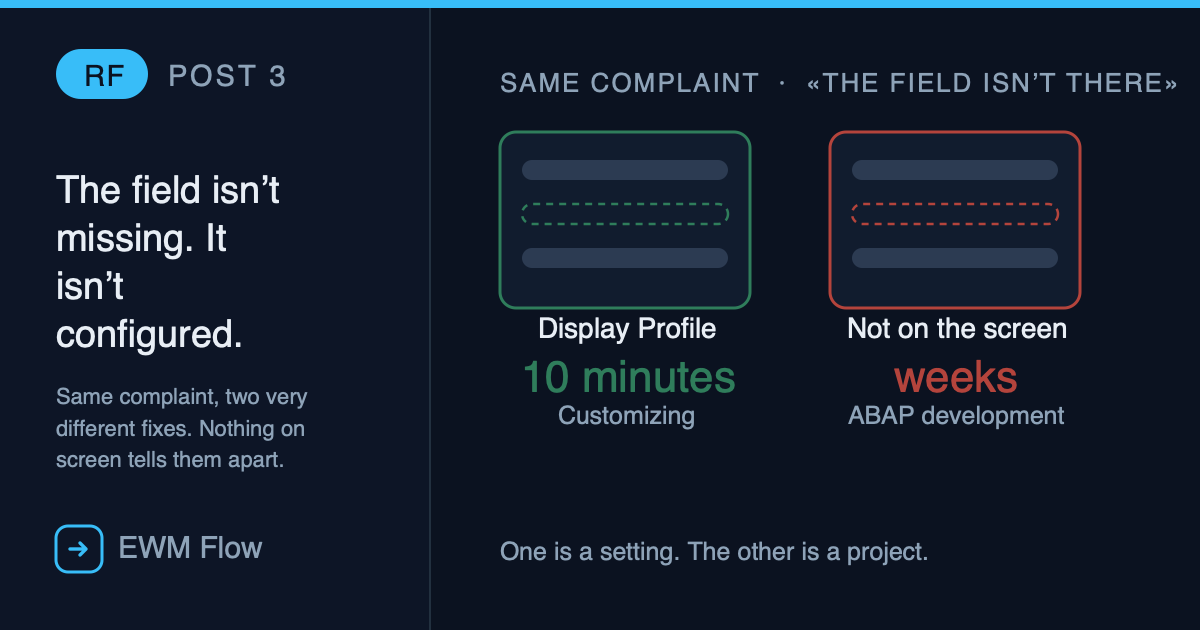
Two RF screens are missing a field. Same complaint from the floor, same screenshot in the ticket: “the field isn’t there.”
One of them is a ten-minute Customizing change. The other is a genuine ABAP development, with a spec, a transport and a developer’s time.
Nothing on the worker’s screen tells you which is which. Knowing how to tell them apart before raising the ticket is the difference between a fix this afternoon and a change request that lands next sprint.
In the last two posts we covered the RF menu — which transactions a worker can even reach, and how Presentation and Personalization Profiles decide that per role. This post is about what happens after a worker reaches a transaction: the actual screen, its fields, its buttons, and whether any of it fits the device in their hand. That’s a different customizing layer — the Display Profile and the Screen Manager — and a good part of it doesn’t need a developer at all.
The RF Framework has three layers, and only one of them is “screens”
It helps to know where you are before changing anything. The RF Framework splits into:
- Dynpro layer — the actual screens. Every RF screen is either a template screen (the outer frame: header, function buttons, error line) or a service sub-screen (what changes inside that frame per step — the actual input fields for that specific scan).
- Business logic layer — the logical transaction: the sequence of steps, which function module runs on which function code, in what order.
- Content provider — the function modules themselves (PBO — Process Before Output, PAI — Process After Input) that actually read and write data.
The Display Profile and Screen Manager live entirely in the Dynpro layer. Adding a field that doesn’t exist anywhere in the underlying structure is business-logic/content work — that’s the ABAP ticket. Resizing what’s there, or turning an existing field on/off, is Dynpro-layer customizing — that’s the part you can often do yourself.

Creating a New Display Profile
Every warehouse has a standard display profile out of the box (SAP ships it as **), sized for a generic reference device. Real RF guns rarely match it. To adapt the screens to actual hardware — say, a handheld with 12 lines and 20 columns — you copy the standard profile rather than edit it directly:
- RF Screen Manager (IMG: SCM Extended Warehouse Management → Extended Warehouse Management → Mobile Data Entry → Radio Frequency (RF) Framework → RF Screen Manager), Display Profile tab. Enter
**as the source, use Copy Profile, and name the new one (e.g.,H1). Set Screen Height and Screen Width to match the real device, and shorten Menu Item Length to fit. - Enter a function group for the new template screens (e.g.,
ZRF_H1_TMPL). The system generates it and copies the two standard RF template screens into it at the new size. - Under Sub-Screen Location, set the Create Sub-Screens checkbox and give a second function group (e.g.,
ZRF_H1_SUBSCREEN). This copies every subscreen in the framework to the new size in one pass — including the general ones (logon, logoff, menu), not just the application screens. Skip this checkbox and those get left behind, not just the transaction-specific ones. - Check the Screens tab for the new profile. Each subscreen gets a traffic-light icon: green means the conversion fit cleanly; anything else means a field didn’t fit at the new size and the system shortened it automatically.
A profile with more screen real estate than the standard also needs manual love — the book’s own example shows moving buttons in the screen painter (Transaction SE51 or SE80) to grow a subscreen from eight lines to ten, then adding extra menu lines using the /SCWM/S_RF_SCRELM structure fields, with screen group 003 set so the RF Framework knows to deactivate the lines that aren’t used.
Once the screens exist, the profile still needs to reach a device: Maintain Presentation Devices (/SCWM/PRDVC), where you create an entry (e.g., HAND) and assign the new display profile to it. Mark it Default if that device’s login screen should use this profile automatically.
Turning fields and buttons on or off — no ABAP required
A large part of “the screen doesn’t match what we need” isn’t a missing field at all — it’s a field that exists in the standard screen but is set the wrong way. Every field on an RF screen can be input-enabled, required, or visible independently, and verification fields (the ones a worker has to re-scan to confirm, like a bin or handling unit) can be turned on or off the same way. If a business rule says “don’t ask for product on this scan,” that’s very often a checkbox change in the field’s Customizing — not a request for a developer.
Buttons work the same way. Each screen/step can carry up to four standard function buttons (PB1–PB4) defined in a function code profile, plus the option to trigger the same function purely via keyboard (FNKEY) without showing a button at all — or show the button without a function key. Leave PUSHB blank and only the key works; leave FNKEY blank and only the button shows. Removing a button you don’t need, or disabling a Save button on a screen where it shouldn’t appear, is the same kind of change: find the step and state for that screen, then blank out or reassign the slot.
Finding the right step and state is the one thing worth memorizing: log on to the RF environment (/SCWM/RFUI), navigate to the screen in question, and press Ctrl+Shift+F1. That opens a technical data popup showing the exact logical transaction, step, and state behind the screen you’re looking at — the same three coordinates you’ll need in Define Steps in Logical Transactions to make any change stick.
Back to the SSCC pallet
So — the missing SSCC field. If a field for SSCC already exists somewhere on that screen’s underlying structure and is simply hidden or disabled, this is a Dynpro-layer fix: find the step/state via Ctrl+Shift+F1, enable the field as visible and input-ready in Customizing, done. If no such field exists on the structure at all — nothing to turn on — then it genuinely is business-logic/content-provider work: a developer adds the field to the screen in the Screen Painter and extends the PAI function module to process it. In one real case, the fix was exactly that: pointing the ABAP developer at the logical transaction (ULDLSI), the step (ULCRHU), and the screen program (/SCWM/SAPLRF_UNLOADING) that needed the new SSCC field — precise enough that no guesswork was needed on either side. Knowing which of the two situations you’re in, before opening the ticket, is the whole point of understanding this layer.
The one sentence worth remembering: the Menu Manager decides what a worker can reach. The Display Profile decides what actually fits once they get there.
Quick Reference
| Where | Transaction / IMG | What you do there |
|---|---|---|
| RF Screen Manager | IMG · Mobile Data Entry | Create/copy a display profile sized for real hardware |
| SE80 / SE51 | Transaction | Manually adjust template and subscreen layout after a profile copy |
| Define Steps in Logical Transactions | IMG · Mobile Data Entry | Toggle field input/required/visible; edit the function code profile (PB1–PB4, FNKEY) |
/SCWM/PRDVC | Transaction | Assign a display profile to a presentation device |
/SCWM/RFUI + Ctrl+Shift+F1 | Transaction | Find the logical transaction, step and state behind any screen |
Related Reading
- Why Every RF Menu Looks Different — the concept behind Presentation Profile and Personalization Profile
- How to Build a Personalization Profile in RF, Step by Step — the menu-level customizing this post builds on
Part of the RF series. ← How to Build a Personalization Profile in RF, Step by Step · Next: Your Picker Scans Four Barcodes to Move One Pallet. Three Are Pointless. — which fields the operator actually has to scan, and how to cut four down to two.
Deja un comentario